Scenario: your restaurant has eight counter seats and one private room; online booking should automatically put a party of two at the counter and a six-person dinner in the private room. Those rules all start in Tables.
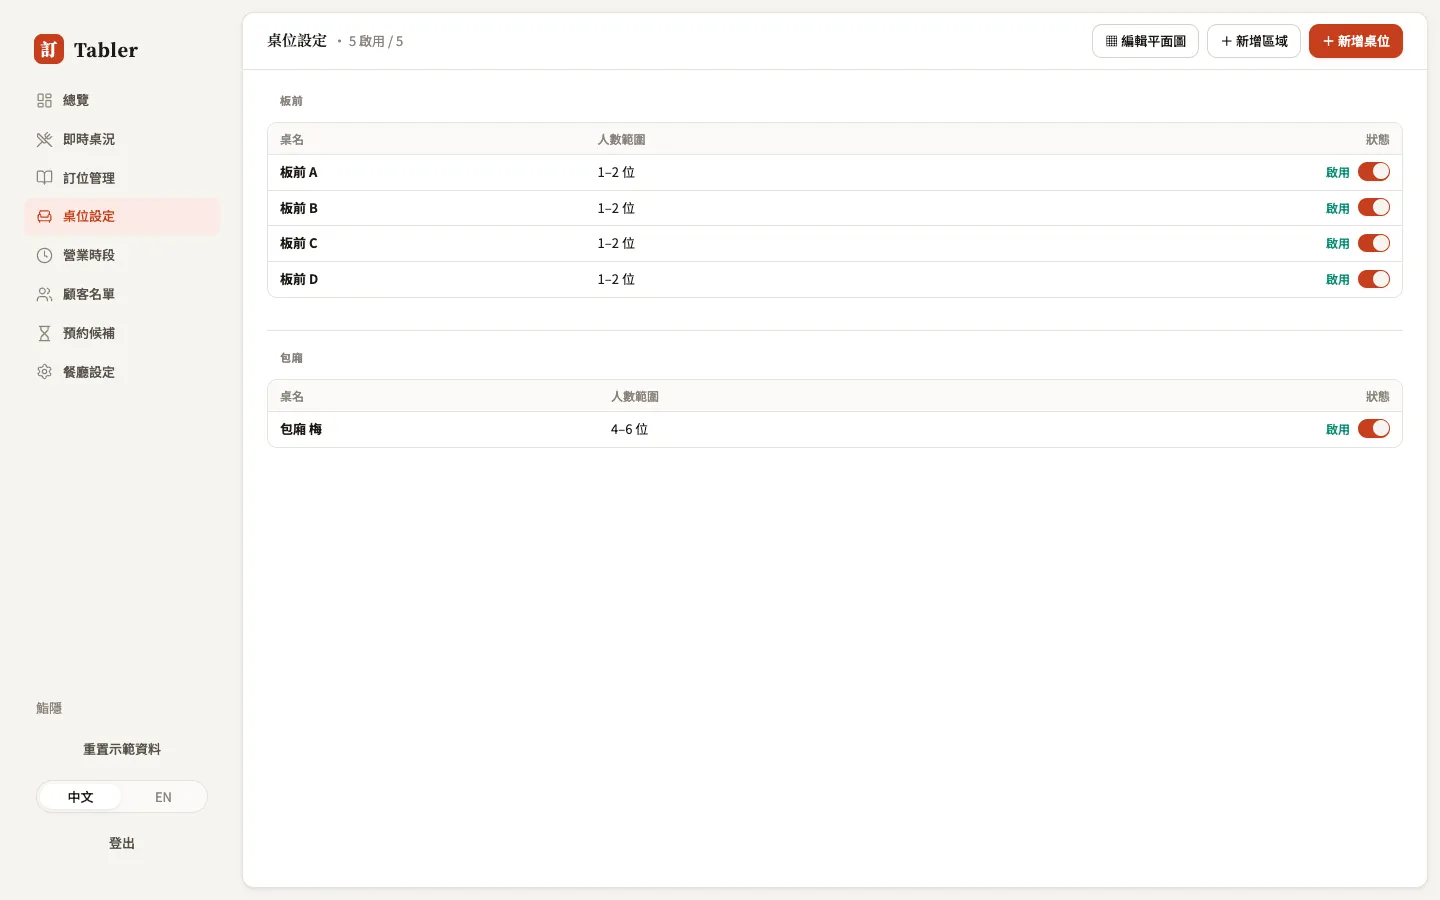
Areas and tables
Press + Add area first to create your zones (counter, main floor, window, private room…), then + Add table to create tables inside each area:
- Table name — something the floor actually says out loud (Counter A, Round 1, Patio 2).
- Shape — round / square / rectangle; affects how it looks on the floor plan.
- Min / max party size — what auto-assignment runs on. A private room set to “4–6” won’t be taken by a couple, and a solo diner won’t land at a ten-person round table.
Every table has an Active / Inactive switch — a table out for repair or patio seats packed away for the season stop being assigned to bookings once inactive; the data stays, and you can switch them back anytime.
Arranging the floor plan
Press ▦ Arrange floor plan to open the fullscreen editor and drag tables into your real room layout. Once arranged, the Floor page’s Map view renders exactly this layout.
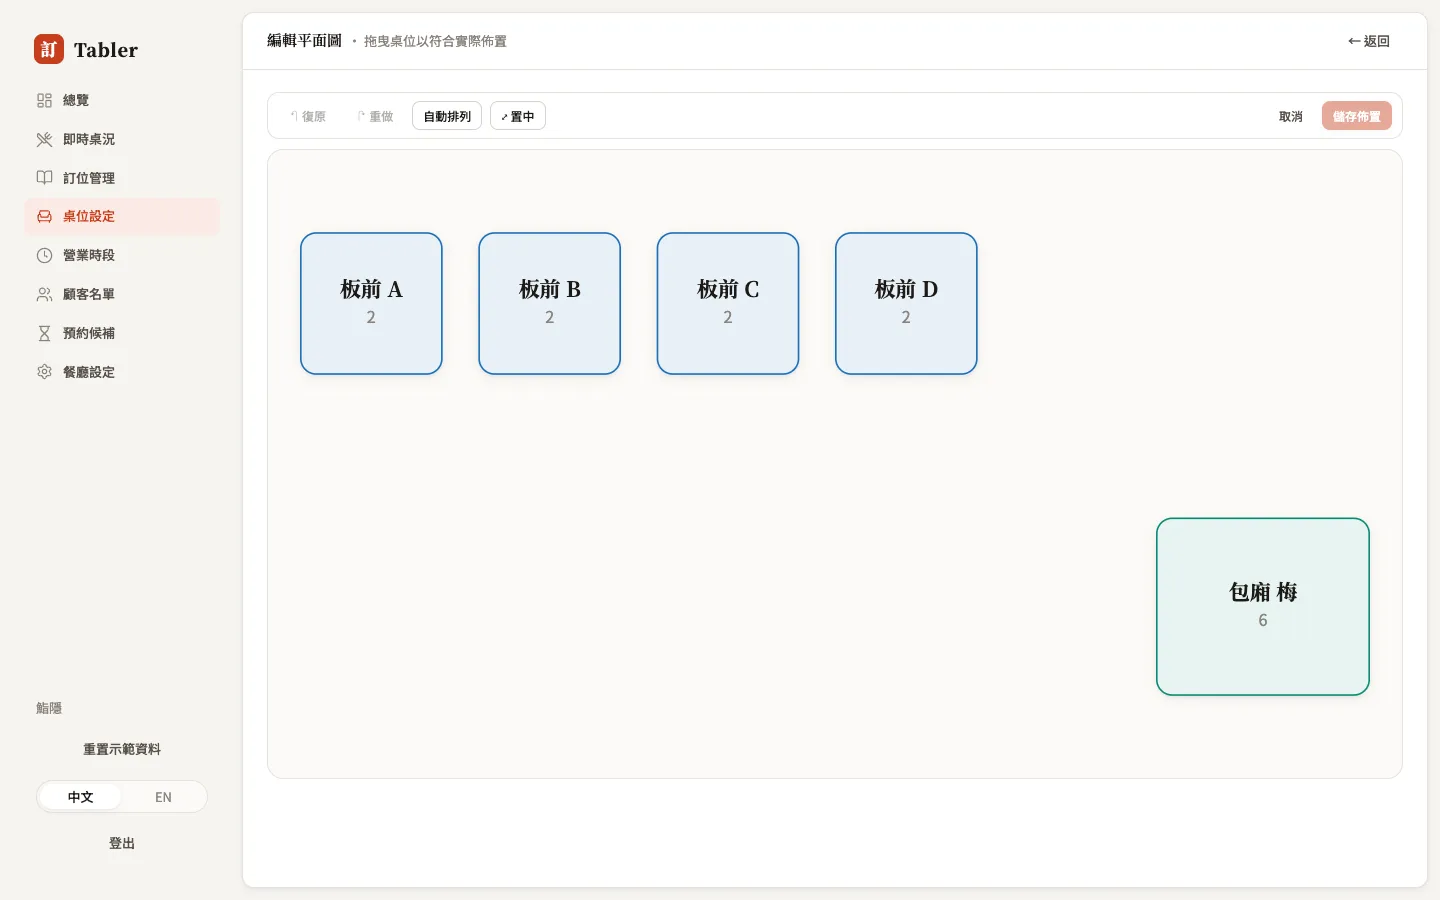
- Drag to move tables (they snap to the grid); drag a corner to resize.
- Tap a table for its tools: change shape, ⟲/⟳ rotate, set Seats.
- Auto-arrange places all unplaced tables onto the canvas in one press; the Unplaced tray lists everything not yet on the plan.
- Undo / Redo at any time; nothing takes effect until Save layout, and Cancel discards everything.
If two devices edit at once, saving warns “layout changed on another device” — the later save wins. The editor needs room to work: use a tablet or computer; phones are prompted to switch to a larger screen.