Say your restaurant just decided to open online bookings this week. This page takes you from signing in to receiving your first booking.
Sign in to the back office
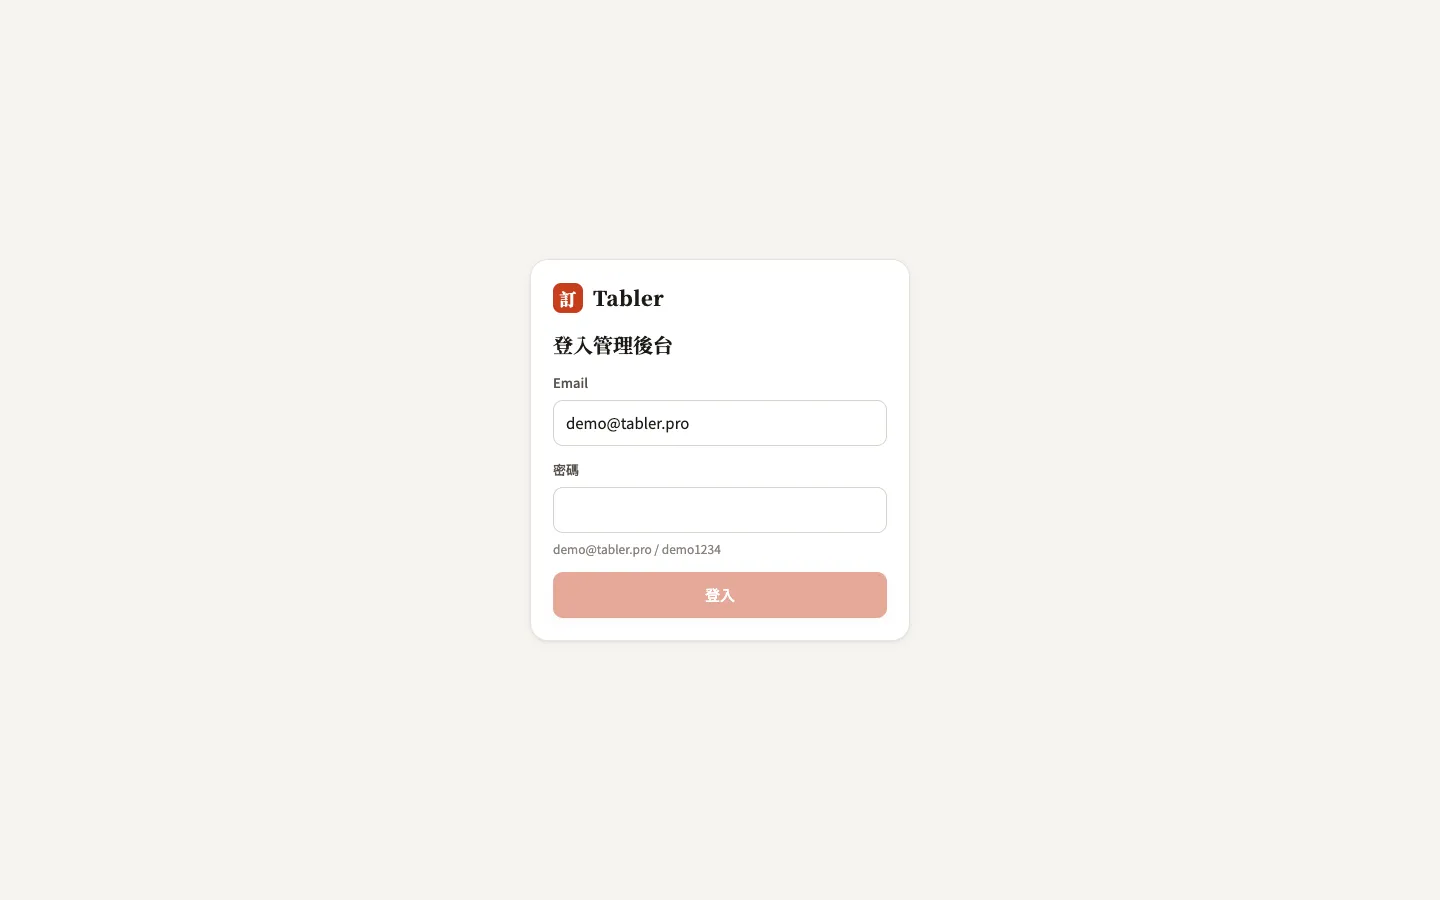
Open tabler.pro/admin/login in a browser and enter the credentials we provided. The back office works on phones, tablets, and computers; floor staff sign in on their own devices and every screen stays in sync in real time.
Don’t have an account yet? Email team@tabler.pro or book a demo from the home page and we’ll set your restaurant up.
Follow the Getting started checklist
After your first sign-in, the top of the Overview page shows a Getting started checklist — the five things to do before taking bookings, each ticked off as you complete it:
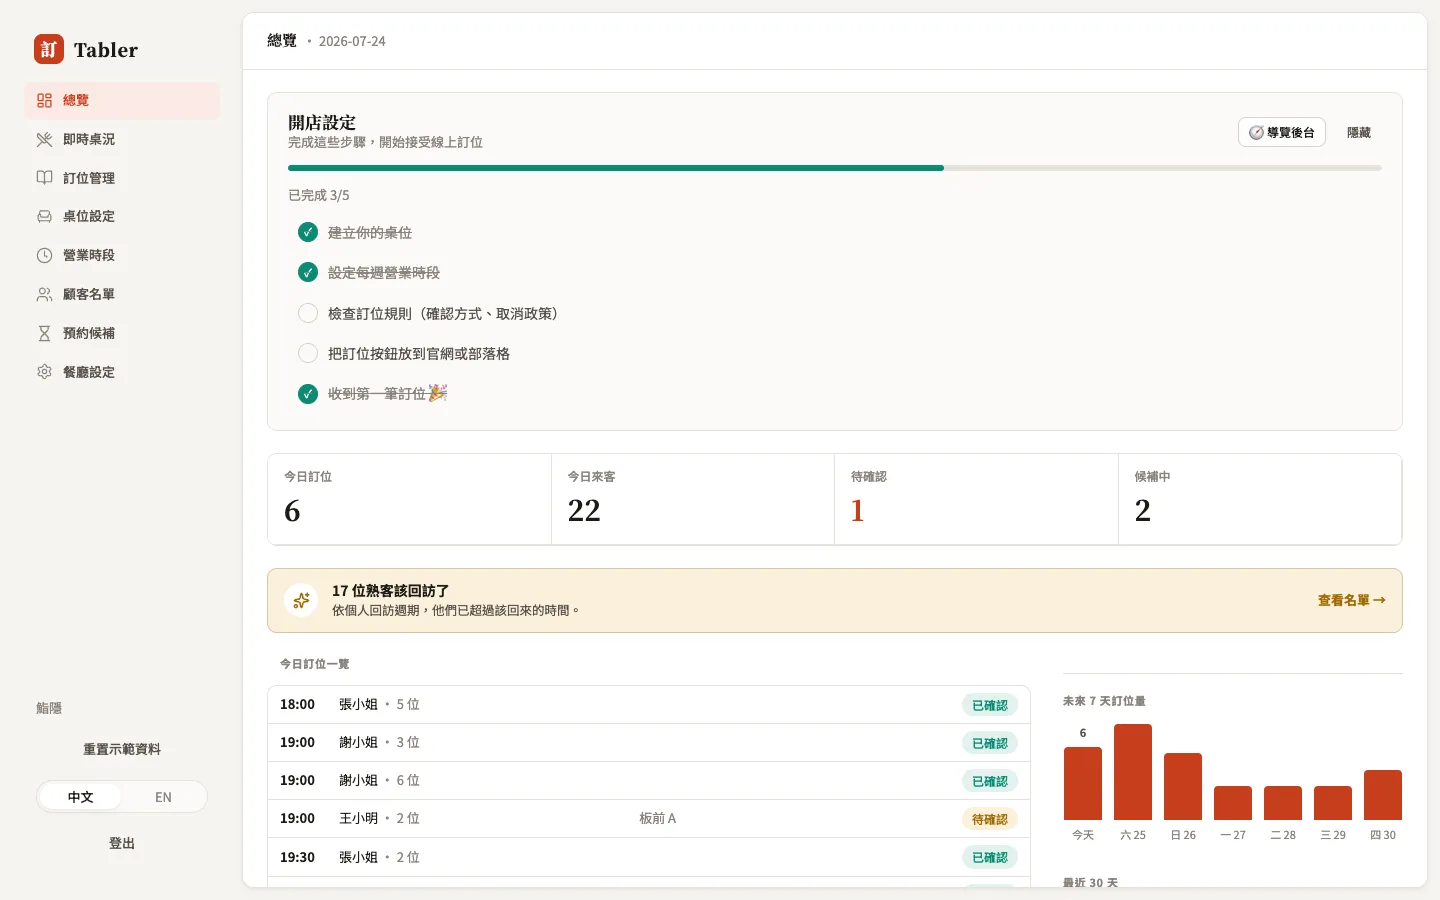
- Add your tables — go to Tables to create your areas (counter, main floor, private room…) and each table’s party-size range.
- Set your weekly service hours — go to Hours to set lunch and dinner periods and closed days.
- Review booking rules — go to Settings to decide the booking window, auto-confirm vs. review-first, and the cancellation policy.
- Put the booking button on your website or blog — follow Booking link & embed button to add the entry point to Google Business Profile, Instagram, and your site.
- Receive your first booking 🎉 — new bookings pop up as notifications and appear in Live floor and Reservations.
The checklist detects the first two steps automatically; once everything is done it tucks itself away, or press Hide to dismiss it early.
Not sure what’s where? Tour the back office
The 🧭 Tour the back office button at the top right of the checklist walks you through all eight sections of the back office, pausing on each page to explain what it does. Great for first-time setup or training new staff.
Language
Both the back office and the guest-facing pages support Chinese and English — switch anytime with the 中文 / EN toggle at the bottom right (top of the screen on phones). Guest pages follow each guest’s own browser language, so there’s nothing to configure for them.